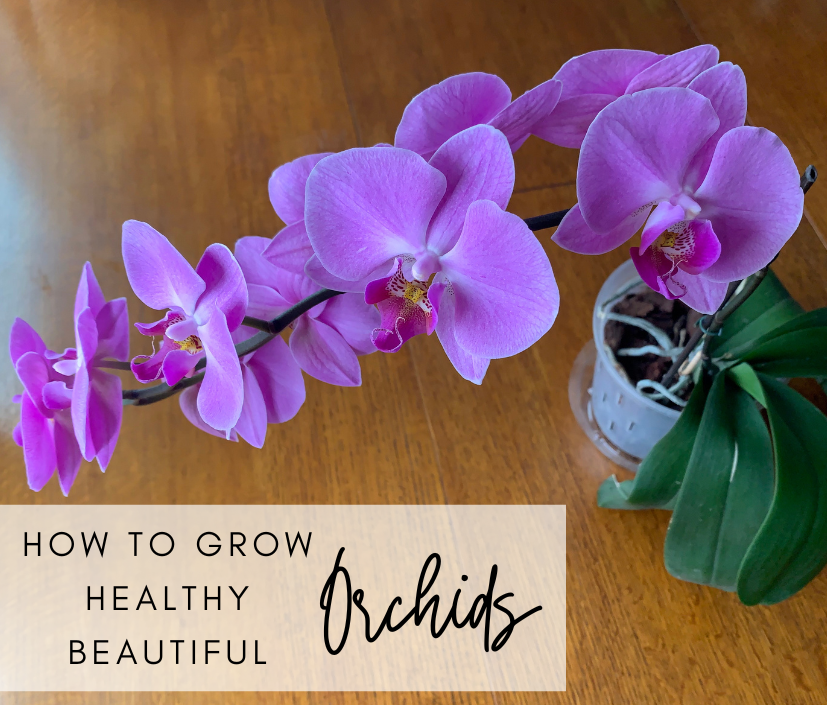
How to Grow Healthy, Beautiful Orchids
If you’re anything like me, you’ve struggled with growing indoor orchids for years. Here is everything you need to know to grow healthy, beautiful orchids!
You’ve transplanted your orchids out of their original container, place them in bright indirect light, and water them regularly, but they still seem to struggle. They just don’t look healthy and definitely don’t bloom as they should. This was me…until I did a little research on the plants and what it takes to help them grow strong and healthy. Read on to learn how to grow healthy, beautiful orchids in your home!
This post contains affiliate links. As an Amazon Associate I earn from qualifying purchases.
The Most Important Thing You Can Do to Help Your Orchids Thrive
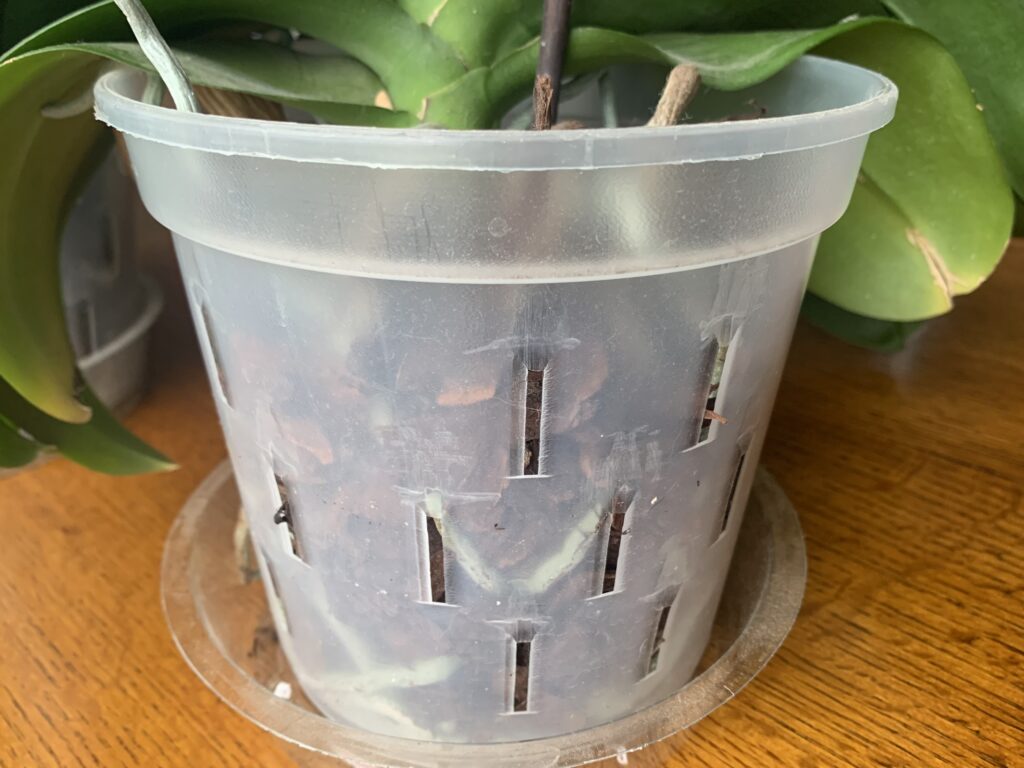
I bought ceramic orchid pots thinking this must be best for the plants. After all, orchid pots have holes in the sides for aeration and drainage, and they look pretty which is a plus! However, I was missing a key factor in orchid health.
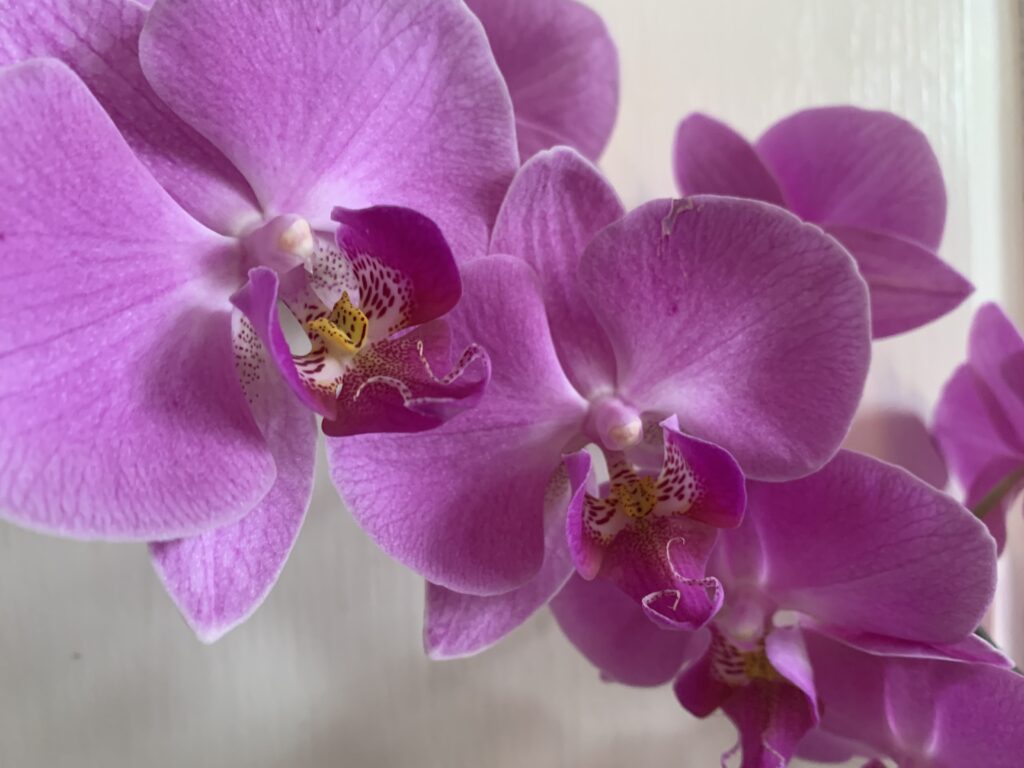
Orchids need light to their roots.
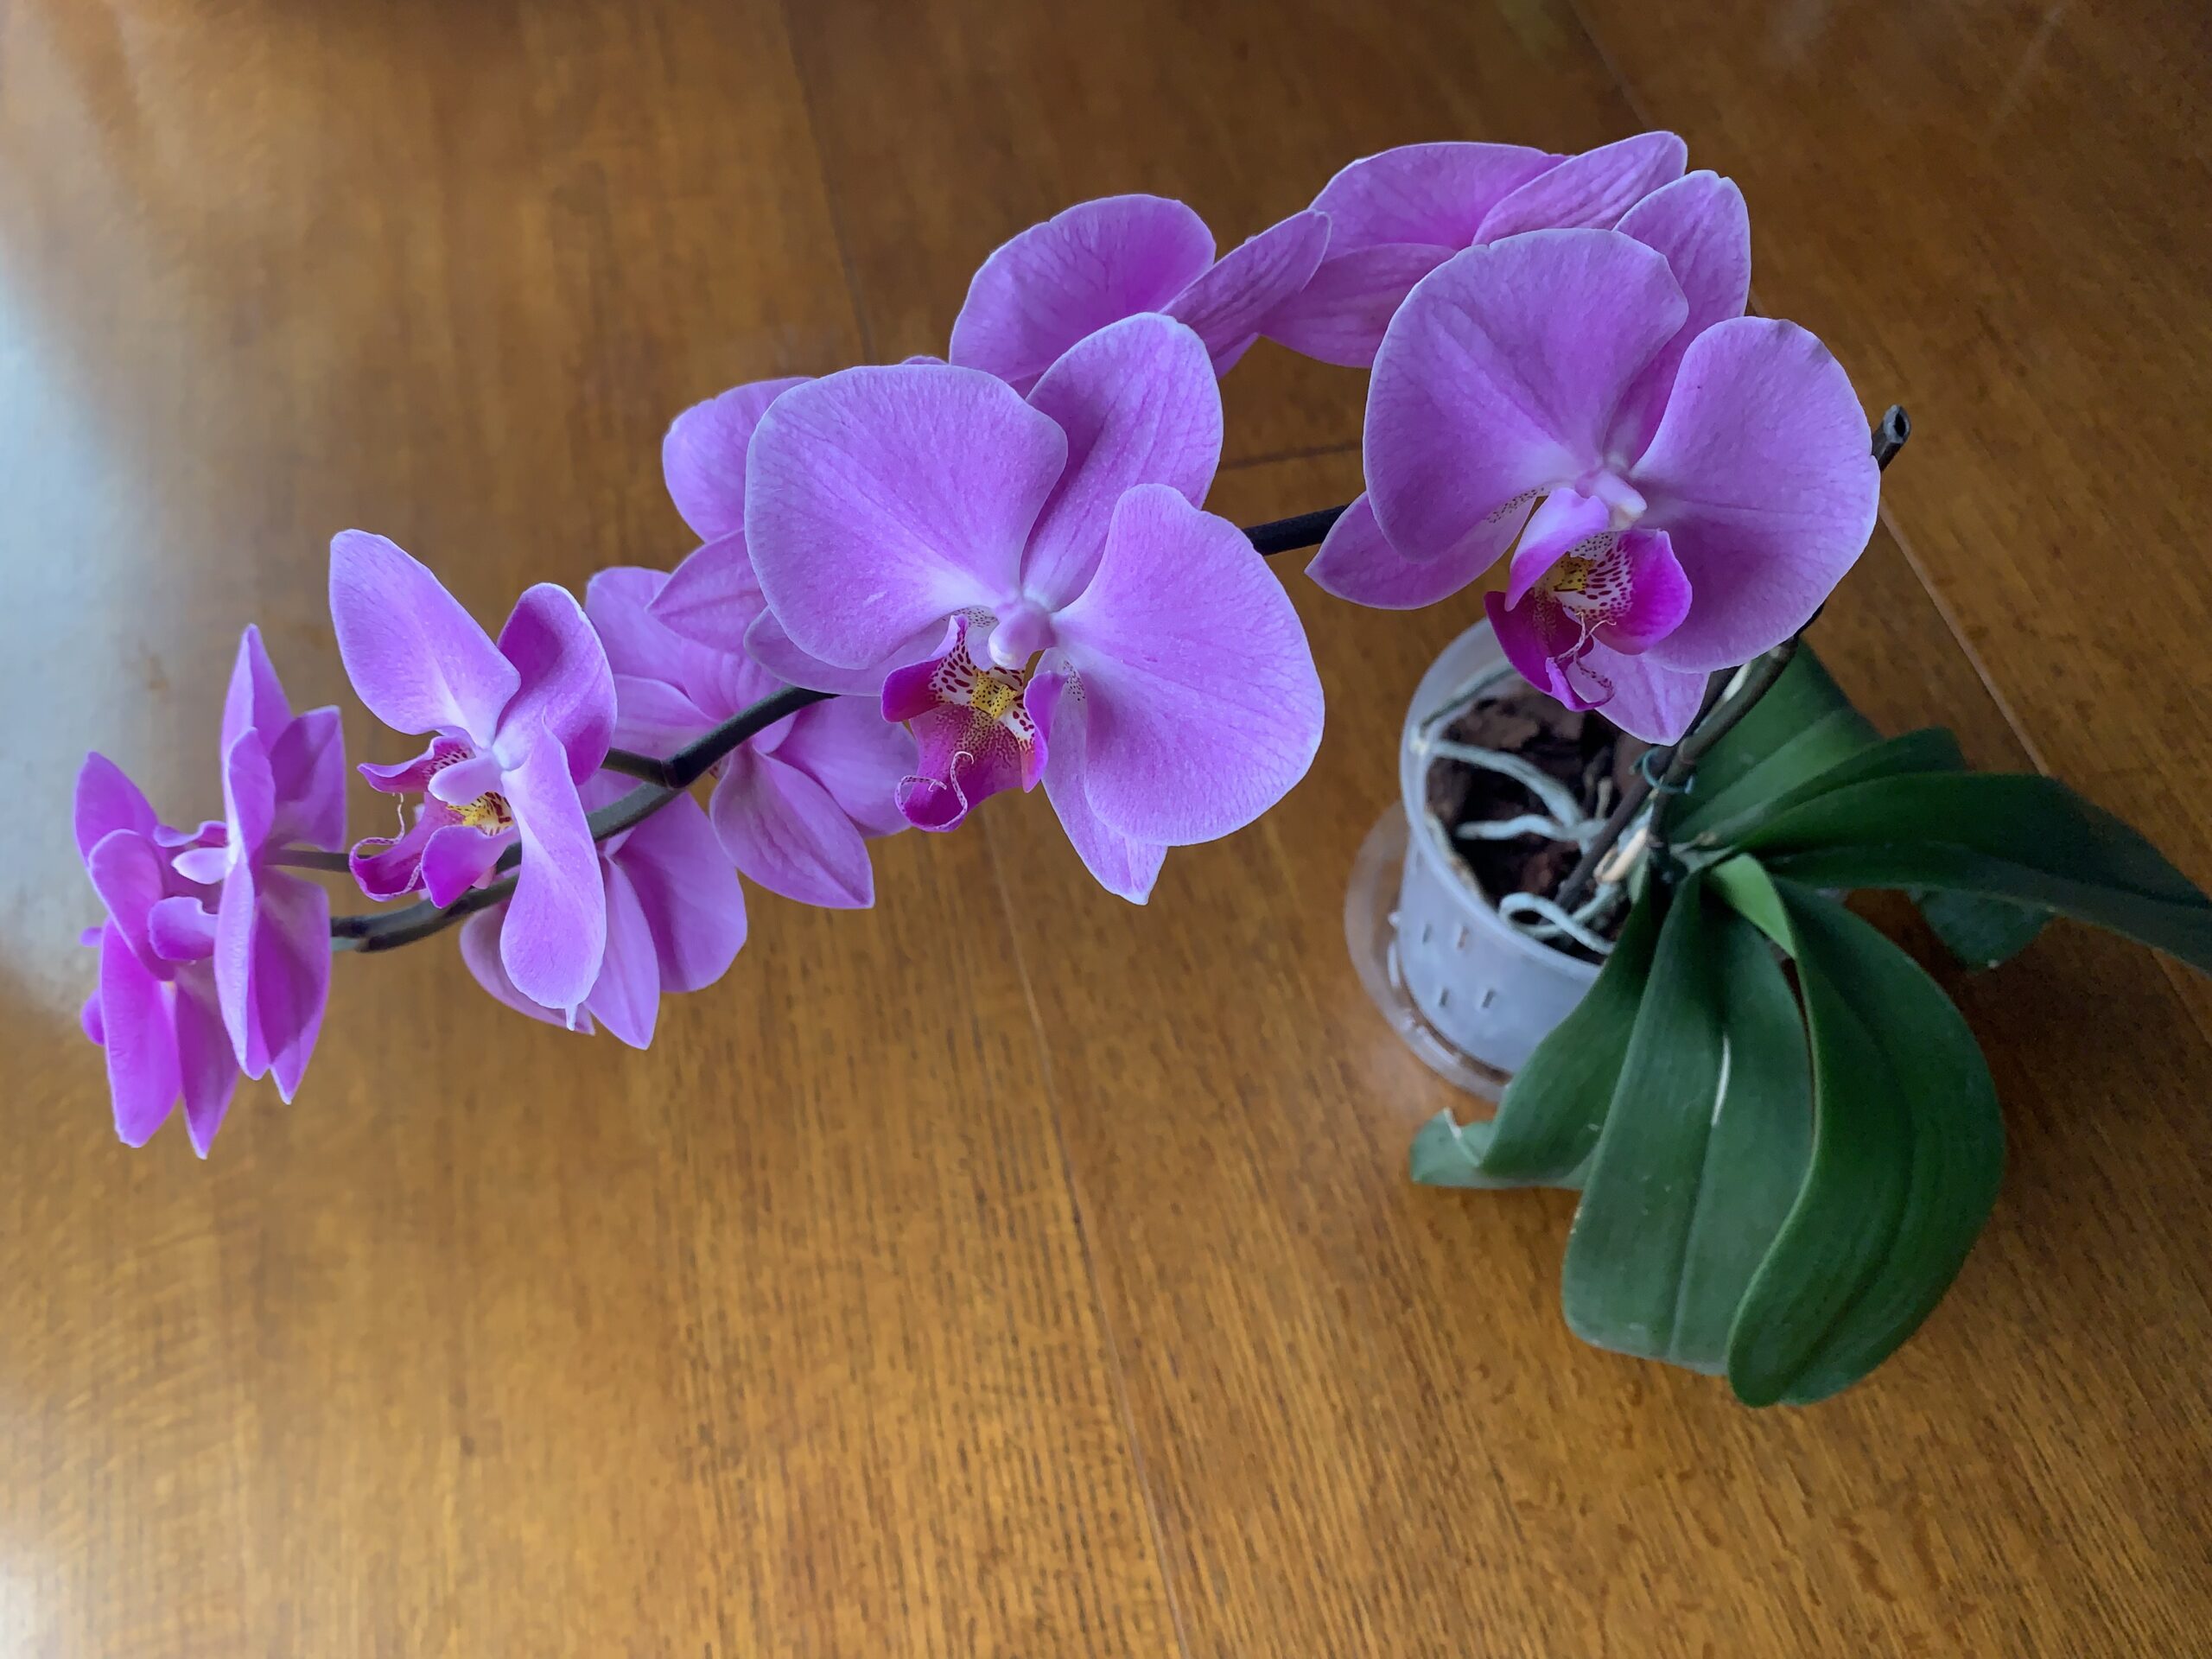
By keeping my orchids in ceramic pots, they got virtually no light to their roots. This was evident when I took them out of the pots, and their poor roots were limp and pale. I transplanted my orchids out of the ceramic and into some clear plastic pots I found on Amazon. These pots are much more transparent and in turn, expose the orchid roots to the light they need to thrive! They also have holes in the sides and bottom for air flow and drainage.
Within a few weeks my orchids were looking so much better! The leaves grew large and healthy, and shoots started popping up which would eventually grow into the flowering part of the plant. I was pleased with this new growth and vigor.
But the most impressive change wasn’t to the parts of the plant above the surface – it was below the surface! The roots of the plants became thicker, stronger, and bright green. No more pale, limp roots for these orchids!
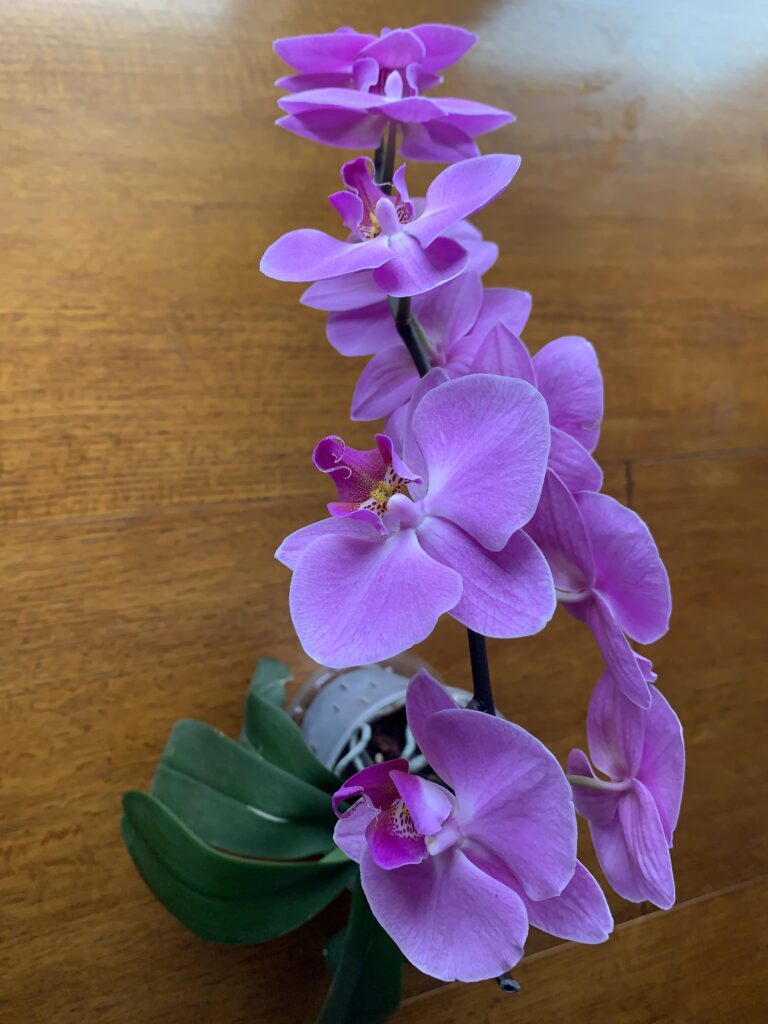
I was so surprised that this simple change had worked, and worked wonders. Just letting light penetrate the root system turned my orchids from sad, sickly plants that hardly ever bloom into healthy, vigorous plants with beautiful blooms that last for months!
I’ll admit, these pots aren’t nearly as pretty as the ceramic pots. But trust me, your orchids will grow so beautifully in these that you won’t even notice the pots! Plus, you can always set them inside another prettier pot to display when they’re in bloom.
How to Transplant Your Orchid
Now that I’ve shared how you can help your orchids grow their best, you might be wondering how to transplant your orchid into a better pot. I’ll share the steps below.
Carefully remove the orchid from its current pot and potting medium. Orchids are usually planted in either moss or bark. Even if the orchid came planted in moss, I highly recommend using bark when you transplant. Why? Since the moss needs to be soaked before planting, it’s very easy to overpack the moss around the roots. Once the moss dries out in the pot, it could suffocate those sensitive roots! I haven’t had this same problem with the bark because it’s a much looser potting medium.
Back to transplanting – so now, you should have just your orchid plant, removed from its pot and potting material. Take note of how the roots look. Do they look thin, white and limp? If so, your orchid will really benefit from being transplanted! Fill the clear pot with a little bark – just enough to make your orchid the sit at the right level when planted.
Now, take some of the bark pieces and tuck them in under the roots while holding the plant in your other hand. Carefully set the plant in the pot and arrange the roots evenly around the pot, making sure none of the roots look squished.
Finally, add more bark pieces all around the sides of the orchid, until you have filled the pot. Be careful not to overpack! You aren’t trying to fit in as many bark pieces as you can – just giving the plant some support.
Tips to Grow Healthy, Beautiful Orchids
Bright, Indirect Light: Orchids do like light, but not too much as this will dry out the plant too much. Place your orchid plants in bright, indirect light for best results.
Consistent Moisture: I’ve found my orchids do best with relatively consistent moisture. I try to water them once a week during warmer months, and about every two weeks during cooler months.
Soak Your Orchids: The best way to water your orchids is by soaking them. This allows the roots and bark to evenly absorb moisture. To do this, I fill up my kitchen sink with lukewarm water, and place the pots directly in the water for about 20 minutes or so.
Use Plant Saucers: I always set my orchid plants in a plant saucer, like this one. That way, they can go right back in their place after watering without damaging the furniture.
Feed Your Orchids: I feed my orchids about every other watering. I just mix the recommended amount into the water that I soak them in.
Support the Flowering Shoots: Make sure you support the flowering shoots as they grow. Those flowers are heavy once in full bloom! Usually, the plants will come with a support stake – adjust the stake in the container so it’s next to the flowering shoot, and attach using clips or twist ties. You might need to add additional ties as the shoot grows.
Other Methods to Help Your Orchids Thrive
I’ve seen a few other methods that I want to try with my orchids! First, some say that misting the plant’s leaves keeps them healthy. This makes sense to me since orchids seem to love the humidity. I’ve also heard that inserting a cotton ball between each leaf and soaking it with water can help stimulate more flowering shoots.
I’m excited to try these methods – I will report back, so stay tuned!
I hope this post was helpful to you in identifying what may be going wrong with your orchids and how to fix it. With the right care, orchids can last for years! If you try this method and see an improvement in your orchids, please let me know by leaving a comment below! And don’t forget to share with a friend. Thanks for reading!