
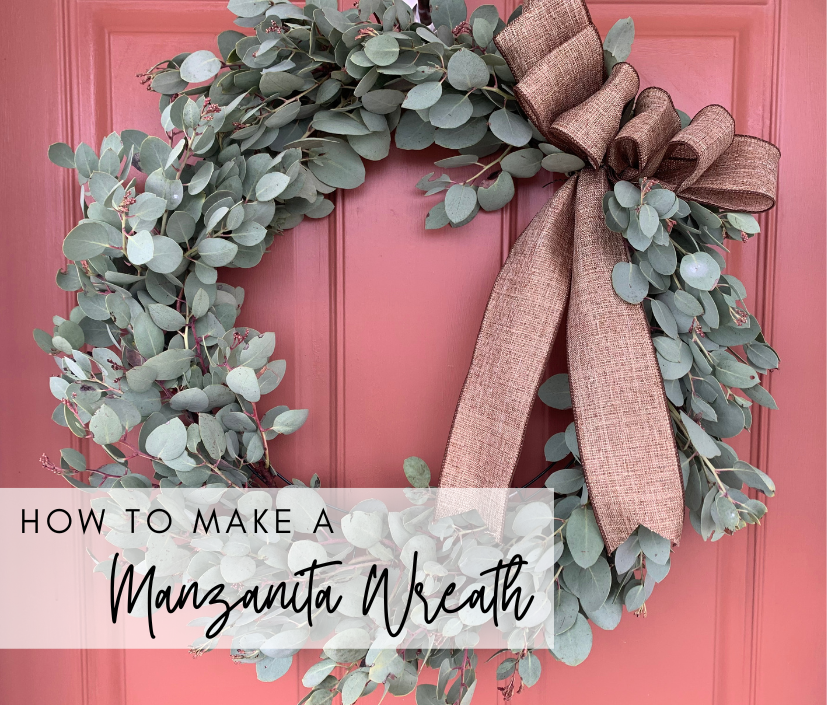
How to Make a Beautiful Manzanita Wreath
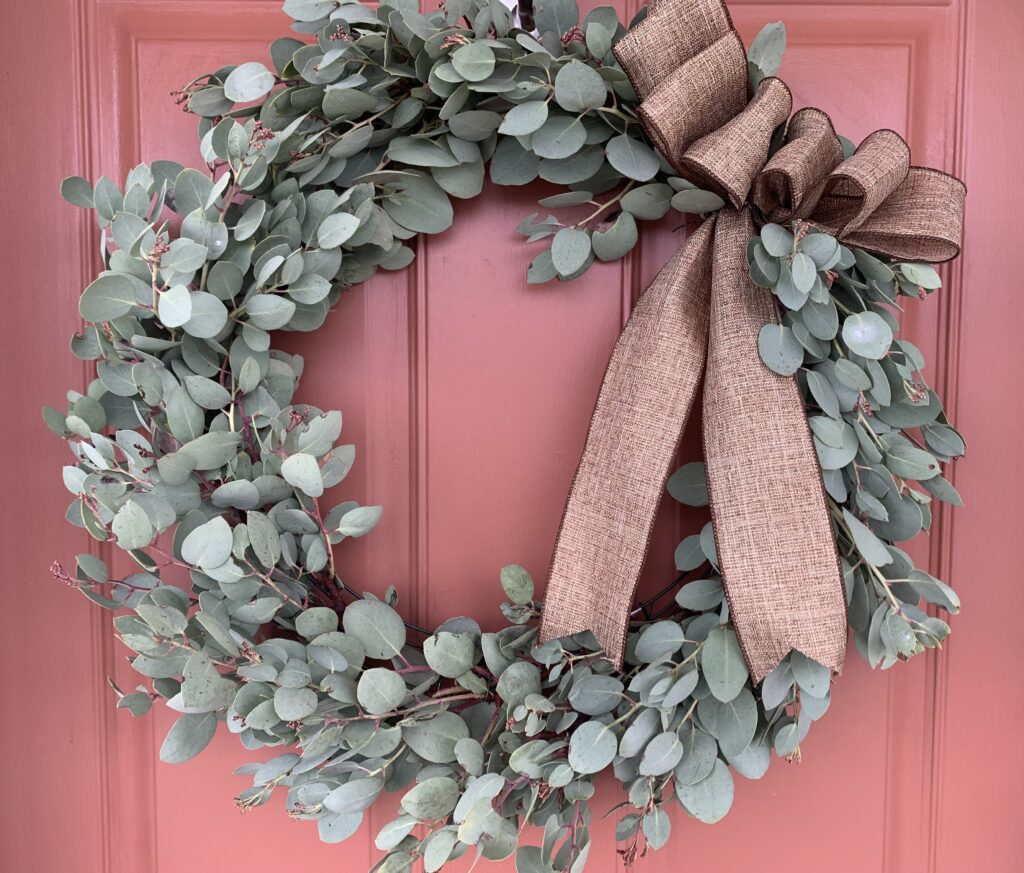
There’s not much greenery during these cold winter months, but you can still have a beautiful, welcoming front door with this easy manzanita wreath!
It’s February, and we’re in the middle of the cold, gloomy winter months. It’s always like this – once the holidays are over and winter really sets in, it seems to drag on for quite some time before we get a glimmer of spring around the corner.
Even with the cold gloomy days, I’ve really come to enjoy this time of year. It can be really hard to motivate yourself to get outside, but once you do bundle up and get out there, it can be so enjoyable working without that summer heat!
However, when it’s too chilly and wet to be exposed to the elements, it’s nice to have some projects you can work on out of the weather. That’s where wreath-making comes in! Not only is it a fun project to tackle when you can’t do much else, it also adds a little color to your front door and brightens up those gloomy days!
Why Manzanita?
Just one problem…there’s not much greenery this time of year. Evergreen boughs are too reminiscent of the holidays, so that’s out. But where we live, there is plenty of manzanita!
Manzanita worked really well for this project, as hardy and beautiful as it is. However, if you don’t have this plant in your area, another type of evergreen shrub would also work.
Keep your eye out for native evergreen varieties on your property or in your area. Medium to large leaf size and more woody varieties work well.
What I Love About This Manzanita Wreath
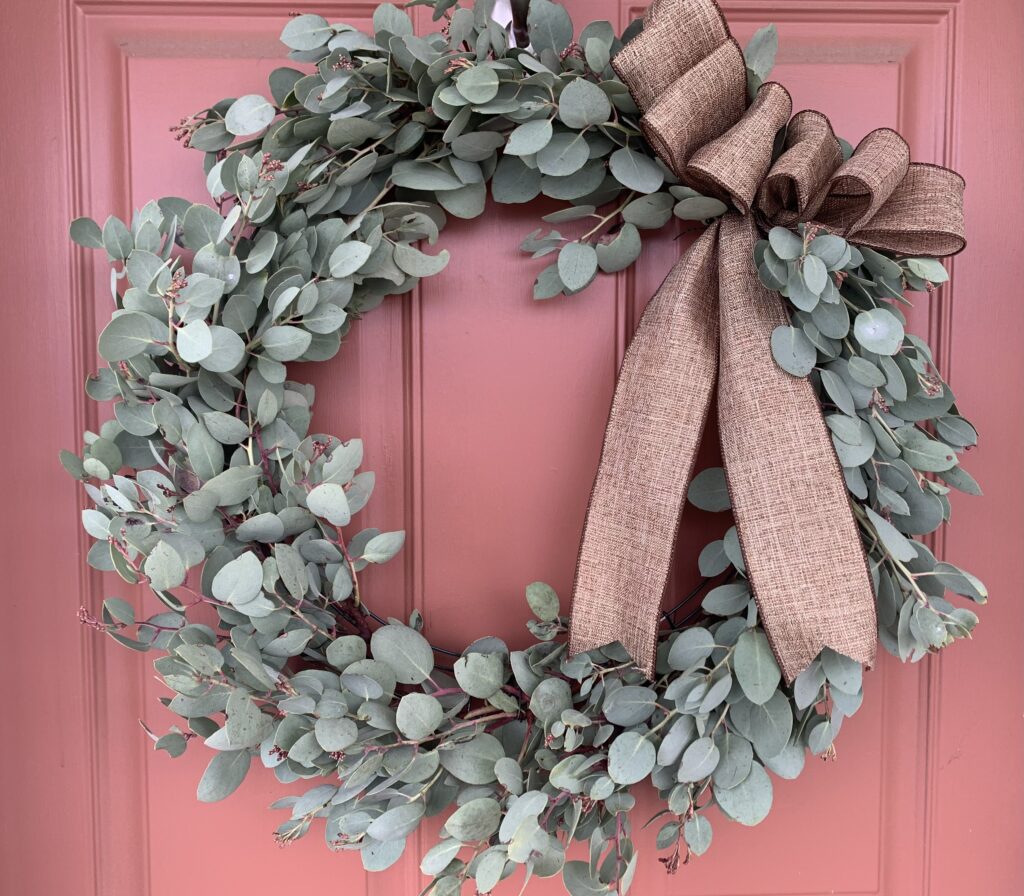
I especially love how the bushy clusters of leaves add volume to this wreath without much effort. You can easily layer manzanita for a lovely, full wreath.
I used white manzanita for this wreath, mostly because it’s a predominant variety in my area. I love how the color turned out though! The soft green works really well for this time of year I think. A bright green foliage would be pretty too, but from a distance, it may look more like a Christmas wreath.
This wreath comes together so quickly. It’s great for a short afternoon project to lift your spirits on a dreary day.
This post contains affiliate links. As an Amazon Associate I earn from qualifying purchases.
Supplies
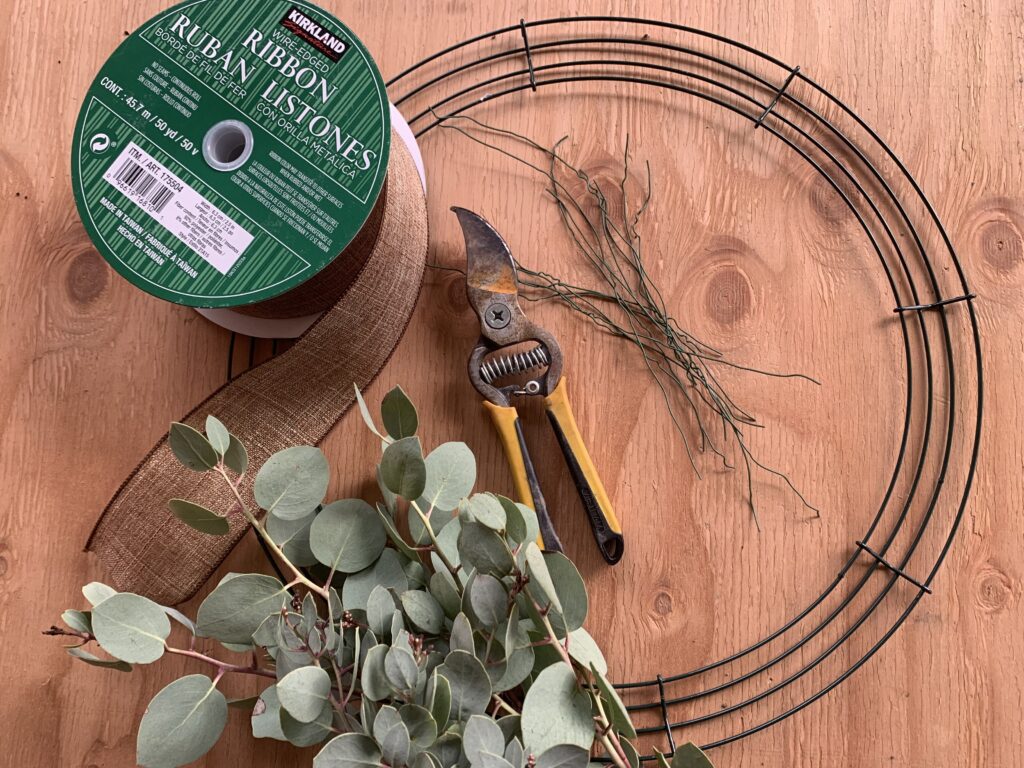
Manzanita clippings – about twenty to thirty 8-10 inch pieces.
Wire wreath frame – I used a 12 inch frame, but if you want to use a larger frame, just make sure to collect more manzanita clippings.
Wire-edged ribbon – I like a wider width ribbon, at least 2 inch. The ribbon I used was 2.5 inches.
Tips
Make sure to collect your manzanita clippings on a dry day if possible. That way, they’re ready to use.
If you’re reusing floral wire (like I did for this project), I used about ten or twelve 6-8 inch pieces.
You can use a pipe cleaner to make your ribbon, but I found just another piece of floral wire worked just as well.
Frequently Asked Questions
How long does a manzanita wreath last? Manzanita wreaths should last for months! The leaves will dry out eventually, but they still look beautiful dried.
Can you make a manzanita wreath any time of year? Yes! I made this in the winter when there wasn’t much greenery available, but a manzanita wreath would look beautiful any time of the year!
How to Make a Beautiful Manzanita Wreath
First, lay out all of your manzanita clippings so you can see what you have. Some clippings will sweep a certain direction or have a better side, so it’s nice to take inventory before you start your wreath.
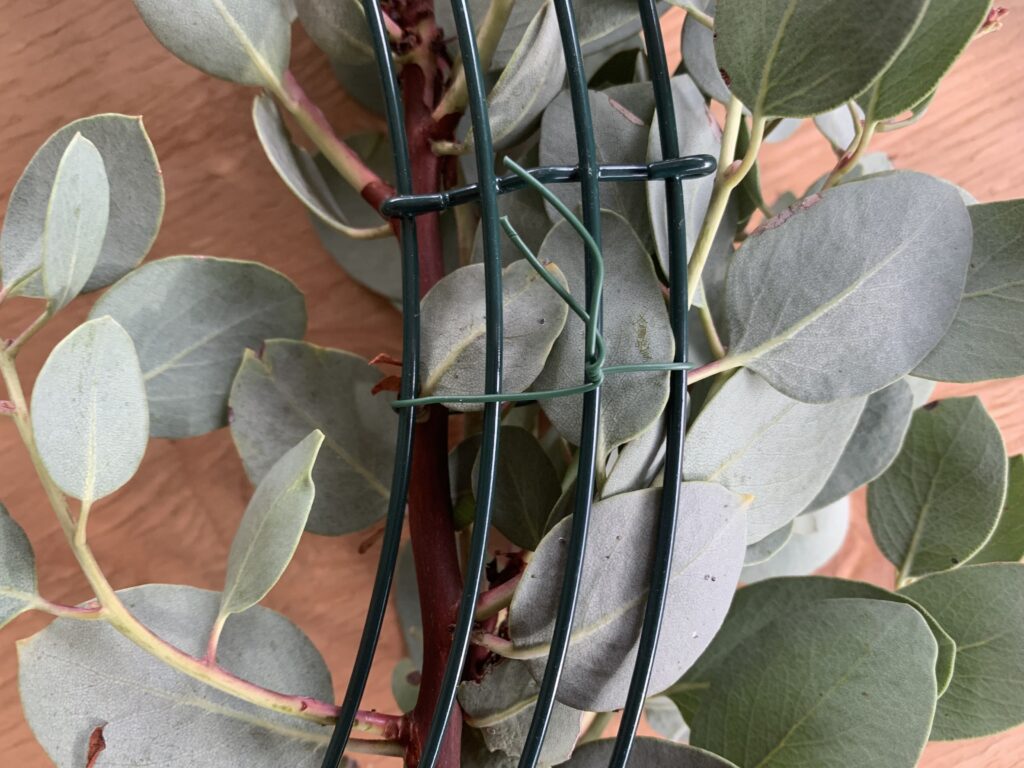
Gather a couple of clippings that layer on top of each other nicely. Arrange them on your wire wreath frame, and secure using a 6-8 inch piece of floral wire around the middle of the cluster, and twist tie at the back of the wreath frame.

Grab another manzanita clipping and arrange so it covers the stems of your first cluster. Match up another clipping on top, staggering it so you’re keeping a consistent volume of greenery as you work your way around the wreath frame. Secure this cluster as you did the first.
Continue this process all the way around the frame. You’ll want to focus on pairing up clippings that sweep the right direction and match up nicely.
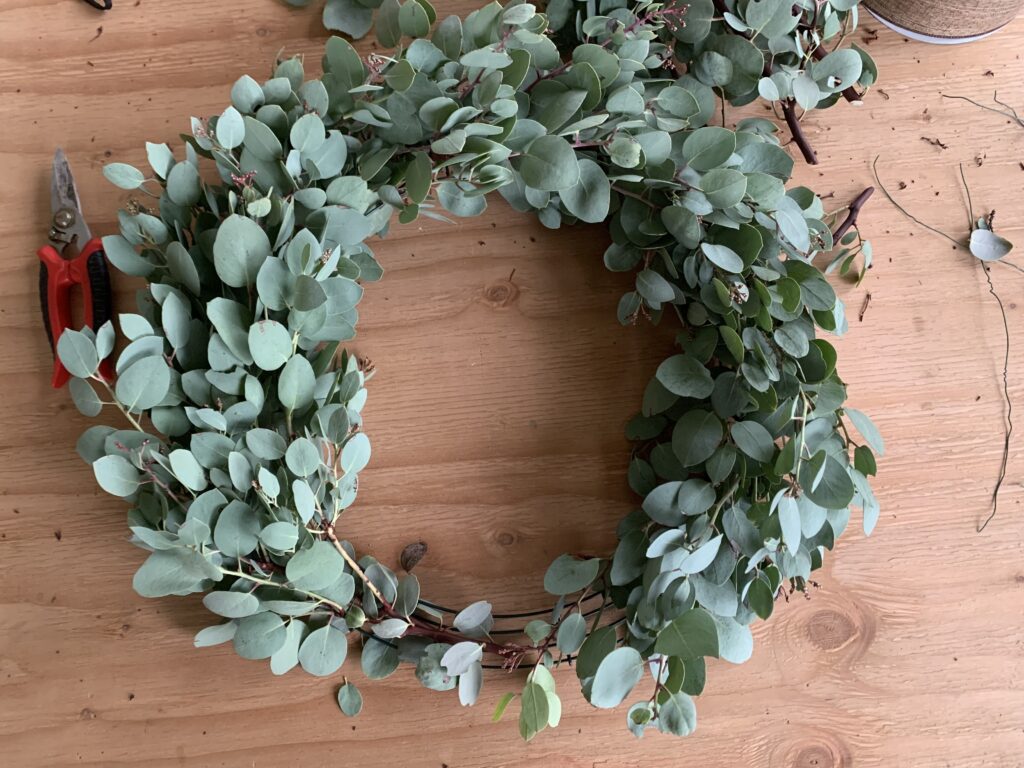
When you get to the last cluster, you might have to tuck it in to the first. Just play with it a bit until you get the look you want. Once you finish the last piece, stand back and see if there are any spots that need work.
Finishing Up Your Wreath
You can tuck pieces in that look a little too wild, or add in some small clippings if there’s any bare spots. I’d also recommend holding up the wreath at this point. If there are any clusters that are loose, fasten using another piece of floral wire.
You’ll get the hang of this process pretty easily. Just use your creativity to get it just how you want!
When holding up your wreath, decide where the bow should go. For me, this is usually where the beginning and end pieces meet. I like to arrange the bow at the “two o’clock” point on the wreath.
Now is also a good time to attach a loop to be able to hang on your wreath hanger. I just use a simple zip tie – no one will see the back of your wreath!
How to Make a Bow for Your Manzanita Wreath
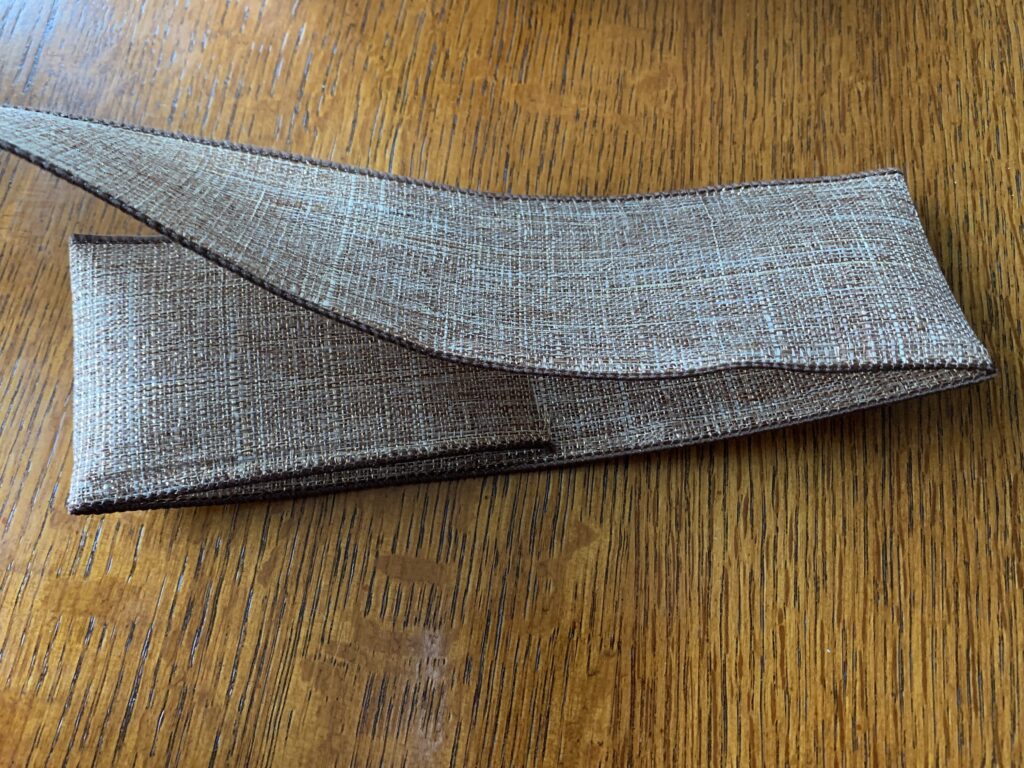
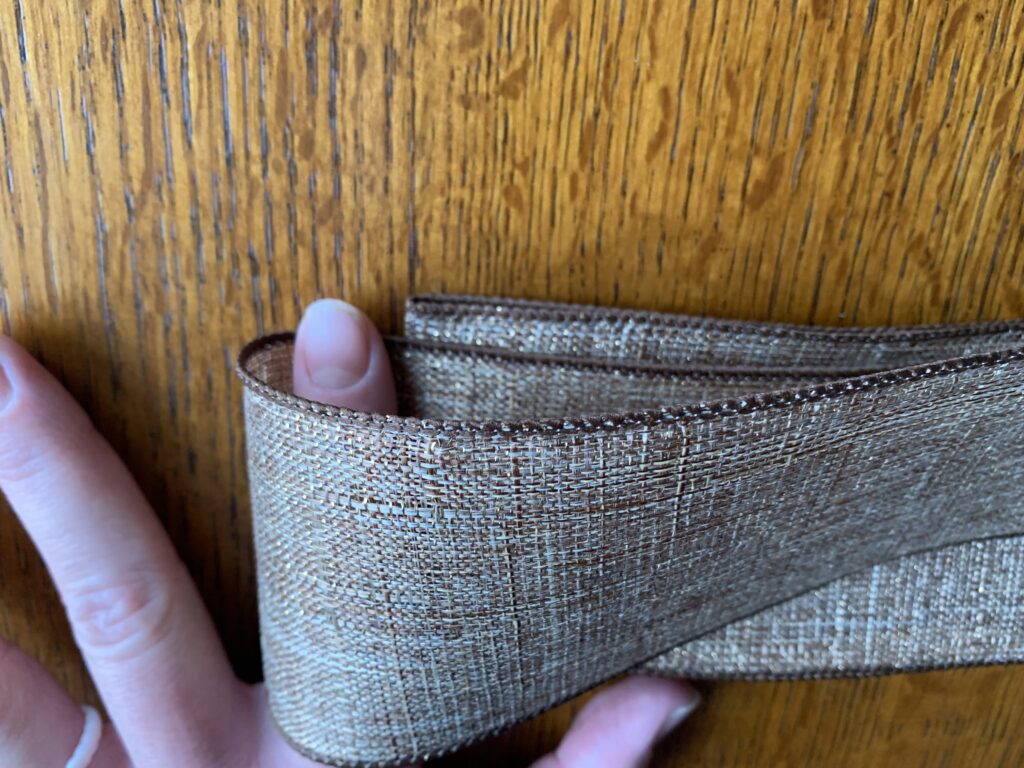
Take your wire-edged ribbon and stretch out a few feet of ribbon from the roll. Now, take the end and fold it back over itself about 4.5 inches, and make a crease. Think of this as the center of your bow. Measure about 4 inches the other direction (the side attached to the roll) and fold it back over itself toward the middle; make another crease.
Smooth the ribbon out past your first crease about a finger’s width, and then make your next crease. Fold the ribbon back over itself, and repeat on the other side. Keep going back and forth in this way until you have three or four complete folds on both sides. Each consecutive fold should stagger one finger width past the last.
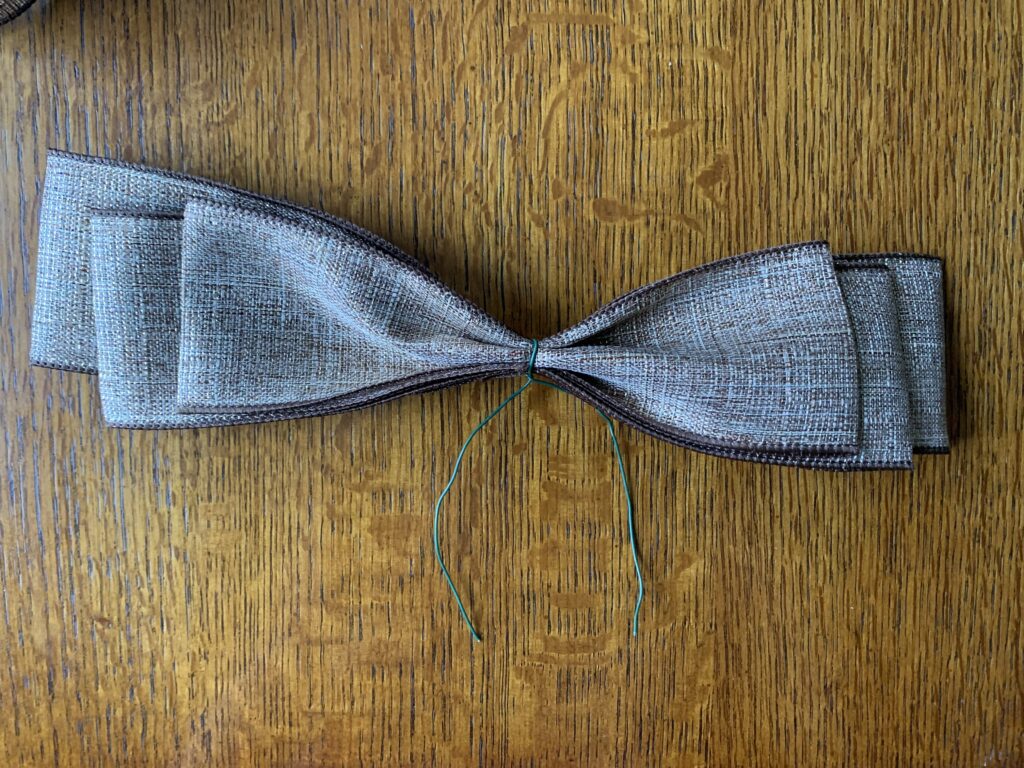
Once you have your last fold, cut the end so its just past the middle point of the folds. Pinch the middle of the folds together top to bottom. Secure the pinched middle with your pipe cleaner or floral wire, twisting a couple times at the back of the bow.
Add Some Tails to Your Bow
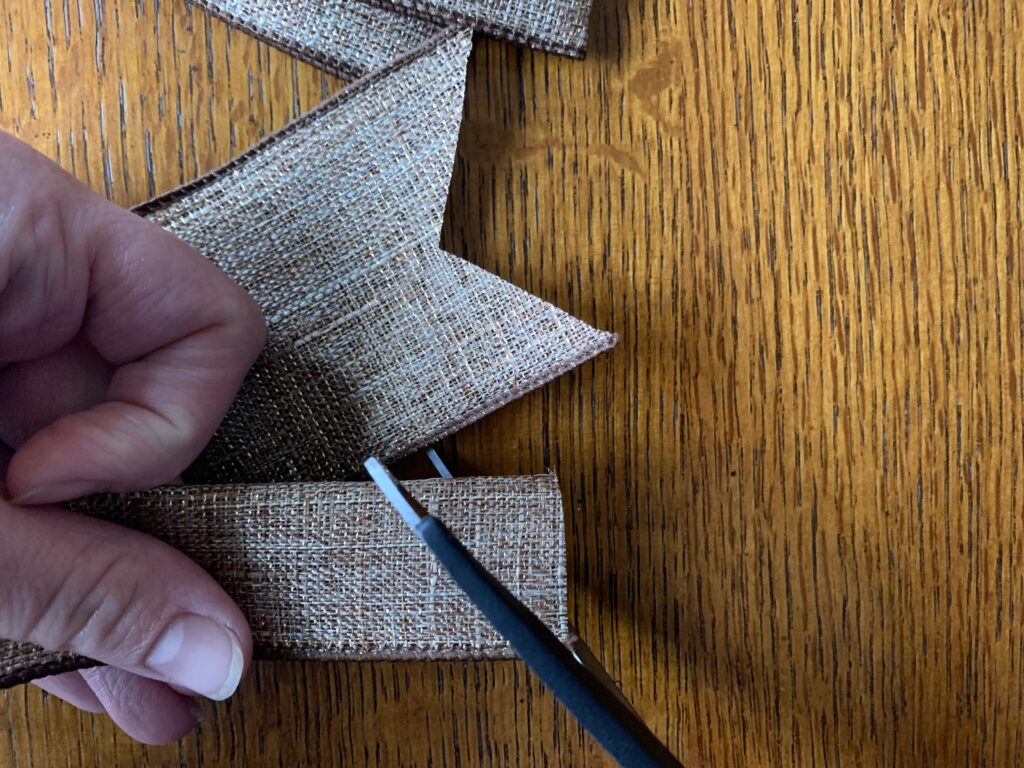
For the bow tails, cut another piece about 2 feet long from the ribbon roll. Dovetail both ends by folding the end in half width-wise, then cutting at an angle outward from the middle of the ribbon.
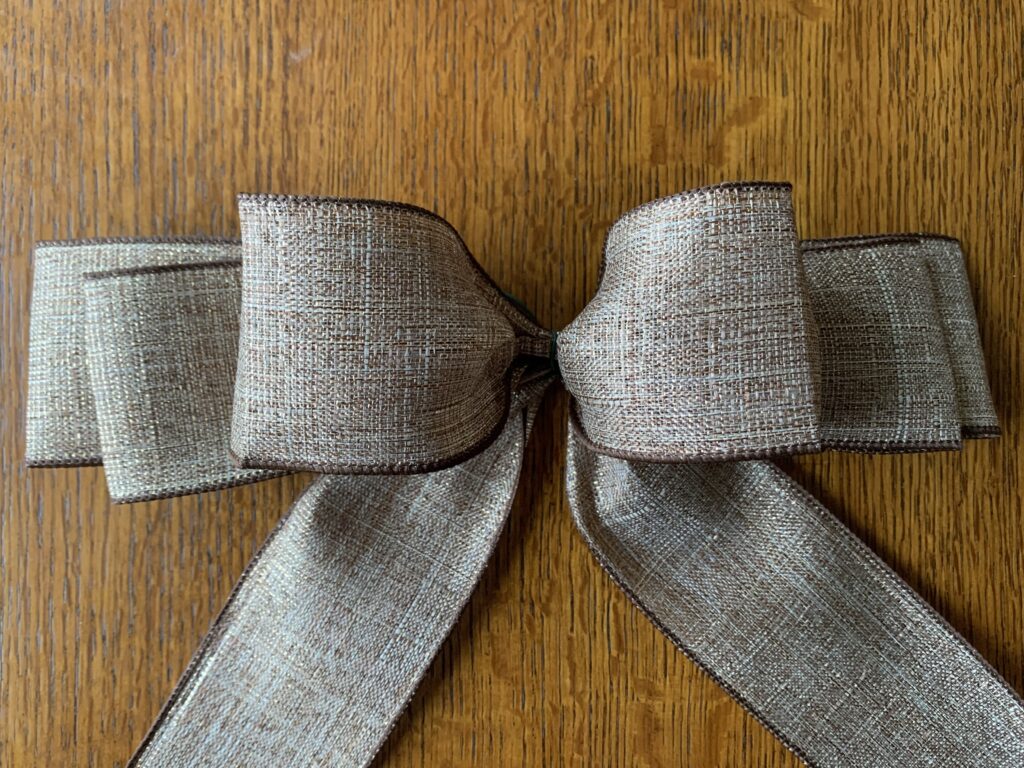
Pinch the middle of the tail piece and secure to the back of the bow using the remaining pipe cleaner or wire. You can play with the tail pieces until they sit perfectly underneath the bow. Lastly, slip your fingers through each loop in the bow and bring it outwards, making it more three-dimensional. You can experiment with this by spreading out each loop if you want a more rounded bow.
Lastly, attach the bow to the wreath using the remaining pipe cleaner or wire at the back of your bow and tails. Give that wire a twist or two, and you’re good to go!
Now it’s time to hang your wreath. Voilà!
Something about handmade wreaths make them so unique and beautiful. And, you can change out the greenery each season using the same frame, wire and even bow if you want! Just a simple and inexpensive way to add some natural beauty to your front door.
I hope you have just as much fun as I did with this simple DIY project. If you tried this, please let me know with a comment below, and share with a friend! Thanks for reading!