Getting Power to Land: Phase 1 of Electrical Setup and Install
In this post, we will cover how we are preparing to get power installed to our undeveloped property and explain the setup we chose and why.
We’ve been working on an exciting new project on our property – electrical installation. This is the next step in developing our vacant land, and it’s a huge one. While we are not quite to the finish line of this project yet, we have plenty to share about the process so far.
If you’re currently in the development phase of your homestead and are looking for folks who can relate, you’re in the right place! And if you’re thinking about buying land and developing it yourself, this post may be encouraging to you. Also, be sure to check out our other posts on property development.
As a disclaimer, we are in no way experts in this field and we are not giving advice. This post is just our personal experience with getting power to land. Methods, regulations and requirements differ by area, so be sure to check with your local authorities and professionals.
Why We Need Power to Our Land
You may be thinking the answer to why we need power to our land is quite obvious – to build a house. But we’re not quite there yet (although we wish we were!). However, there are several reasons why power is essential to us at this point in our property development.
First and foremost, we need electricity to power our well to pump water. We did consider using a generator to pump water from our well, especially since our county has a ‘no power on vacant land’ policy. With this policy in place, we initially thought we would have to use a generator, at least for a while. Luckily, we overcame that hurdle and we can install electricity. With water available, the homestead possibilities are endless! No more having to haul water to the fruit trees. We will also be able to grow a garden, water animals, and irrigate pasture.
Second, getting power to our land adds a level of convenience. In our modern world, it’s probably pretty easy to understand why having power is so convenient. From powering a circular saw to flipping on a light, electricity makes our lives so much easier.
Finally, we see electricity as an essential step towards our ultimate goal – living on our property. Although we aren’t in a position to build our home right now, it’s the next logical step in that direction.
Pulling Electrical Permit and Meeting with Power Company
Once we were approved for electrical service, we pulled an electrical permit with the county building department. We filled out a line extension request for the power company and set up a time to meet.
There are power poles bordering our property along the road, but we weren’t sure where we would be able to hook into power and how many poles it would take to extend service up the hill near our house pad.
Luckily, we did not have to cross anyone else’s property, so we didn’t need any easements. The power company determined that from the pole at the road, they could extend service to our site with just one pole – about a 400-foot span.
Electrical Setup Options
When it comes to electrical service, there are a few main setup options to choose from. The most expensive option was complete underground service with an underground transformer. Since our pump house and building site is quite a distance from the road, this was not an option we were even considering.
The second option was complete overhead service. This would be the cheapest option, but we really didn’t want a power pole and transformer directly in the view from our future house site.
Our third option was an overhead extension and underground entrance. This meant that service would be extended from the nearest pole to a pole-mounted transformer placed lower on the hillside. From that pole, service would go underground to our service meter and electric panel.
We also had a couple options for placing the panel and meter. Option 1 was to mount the panel on our pump house, which is probably about 200 feet from our house site, and around 30 feet lower in elevation. Option 2 was a pedestal mount panel, which means that the panel is mounted on a free-standing base. The base would be made out of two posts and a backboard. We would eventually cover the pedestal mount panel to protect it from the elements…more on that later.
Setup We Chose and Why
We chose to go with the overhead extension with an underground entrance. This was the best compromise for cost and appearance. It is cheaper than completely underground service, and the pole won’t be as noticeable from our house site. Our panel and meter will be mounted on a pedestal in between our pump house and future building site.
This setup made the most sense for us, as completely underground service is ideal but too expensive, and we really didn’t want a power pole right up to our home site.
As for the panel and meter, we wanted it at a central location between our building site and pump house, so we opted for the edge of the building pad. This also makes more sense than mounting panel and meter on the pump house, as it is closer in location to the pole-mounted transformer and therefore less cost for the underground service entrance. This setup gets us closer to the future house site, and it’s a more centralized location to minimize any major voltage drop from the service meter to future electrical utilities.
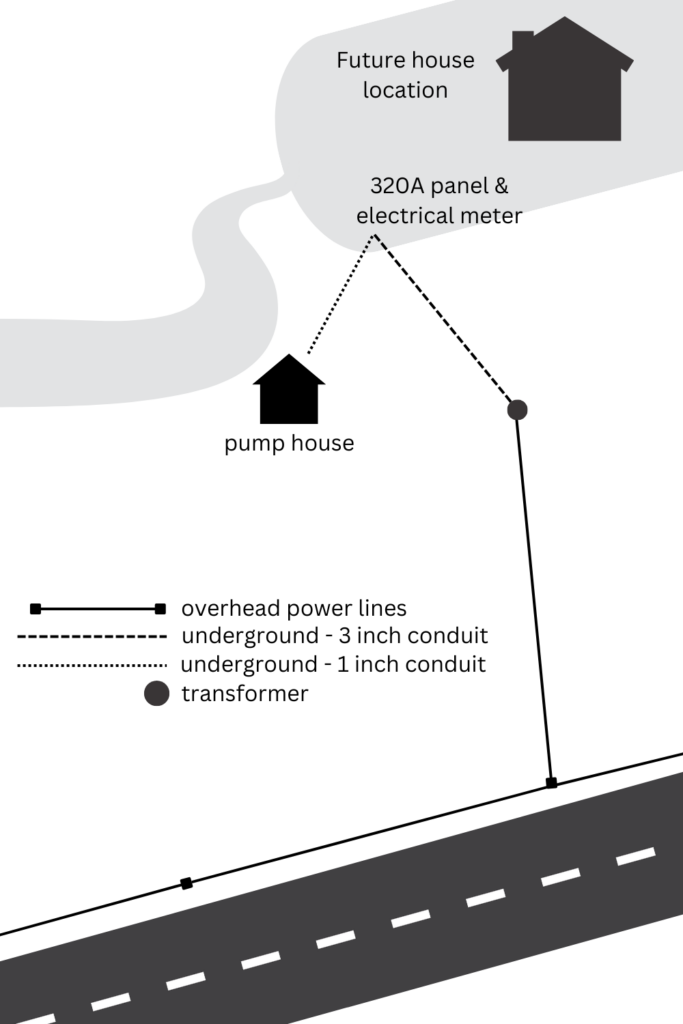
A 25kVA transformer will be installed, and our panel will be 400 amp residential panel (320 amp running capacity). We did have to advocate for this a bit over the 15kVA, 200 amp service that the power company initially recommended. But with homestead plans in mind, it’s nice to have a little extra room for future developments that require electricity.
Preparing for Installation
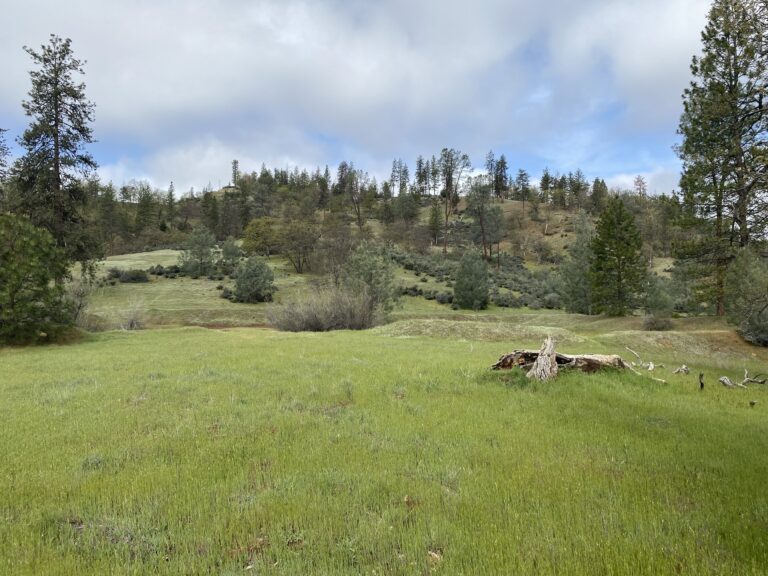
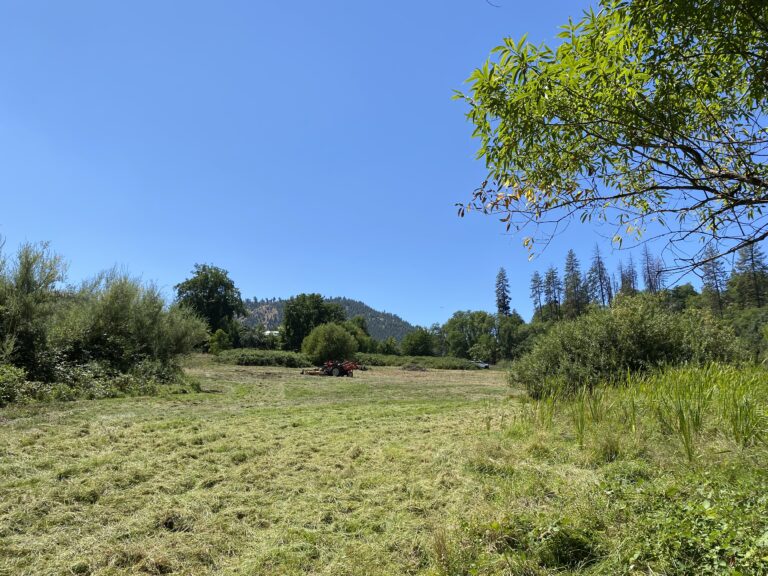
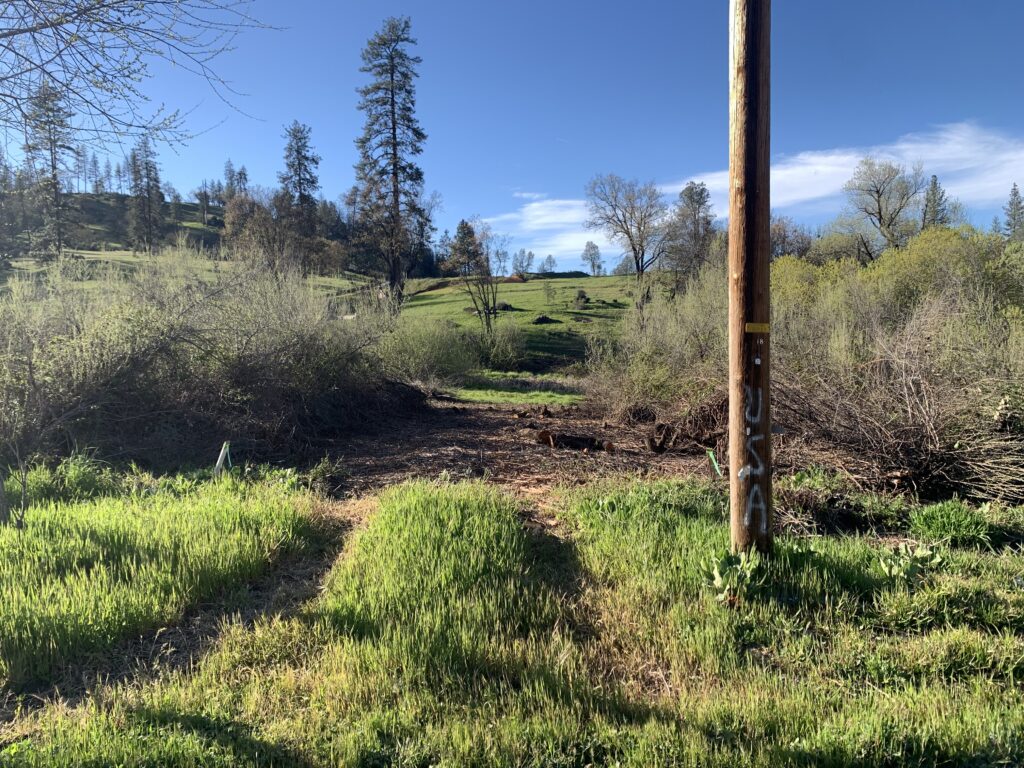
Once we signed the contract, we had several tasks to complete before being ready for installation. First, we needed to clear a right of way through the trees and brush. We had a couple big oak tree branches to trim and quite a bit of brush work clearing through the willow and berry thicket we’ve been working on (see our Reclaiming Pasture post for more on that).
Although the power company’s requirements were just clearing the tree branches as the brush doesn’t reach high enough to affect the lines, we still wanted a nice clear right of way through the thicket. Besides, we’ve been wanting to get to it anyway, so what better time than now.
Second on our list was ordering the panel and conduit. As I mentioned above, our panel is a 400 amp panel and 3-inch schedule 40 conduit is required for the underground service from the pole-mounted transformer to the panel.
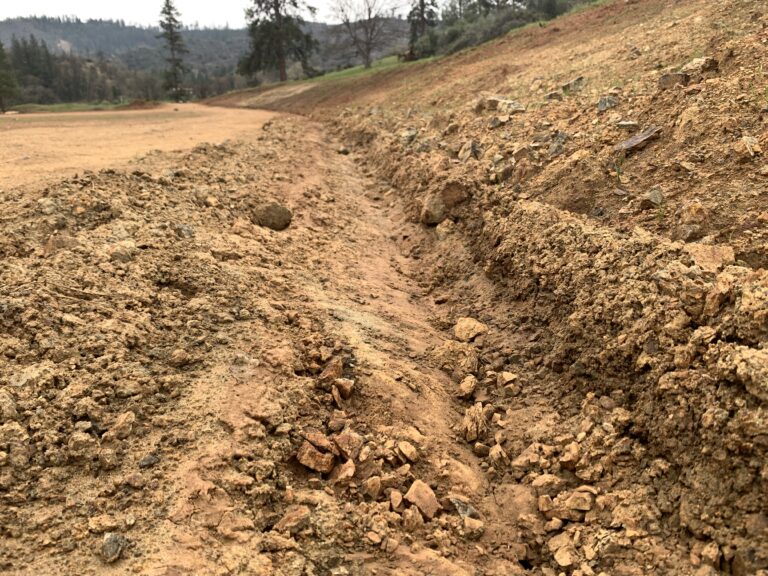
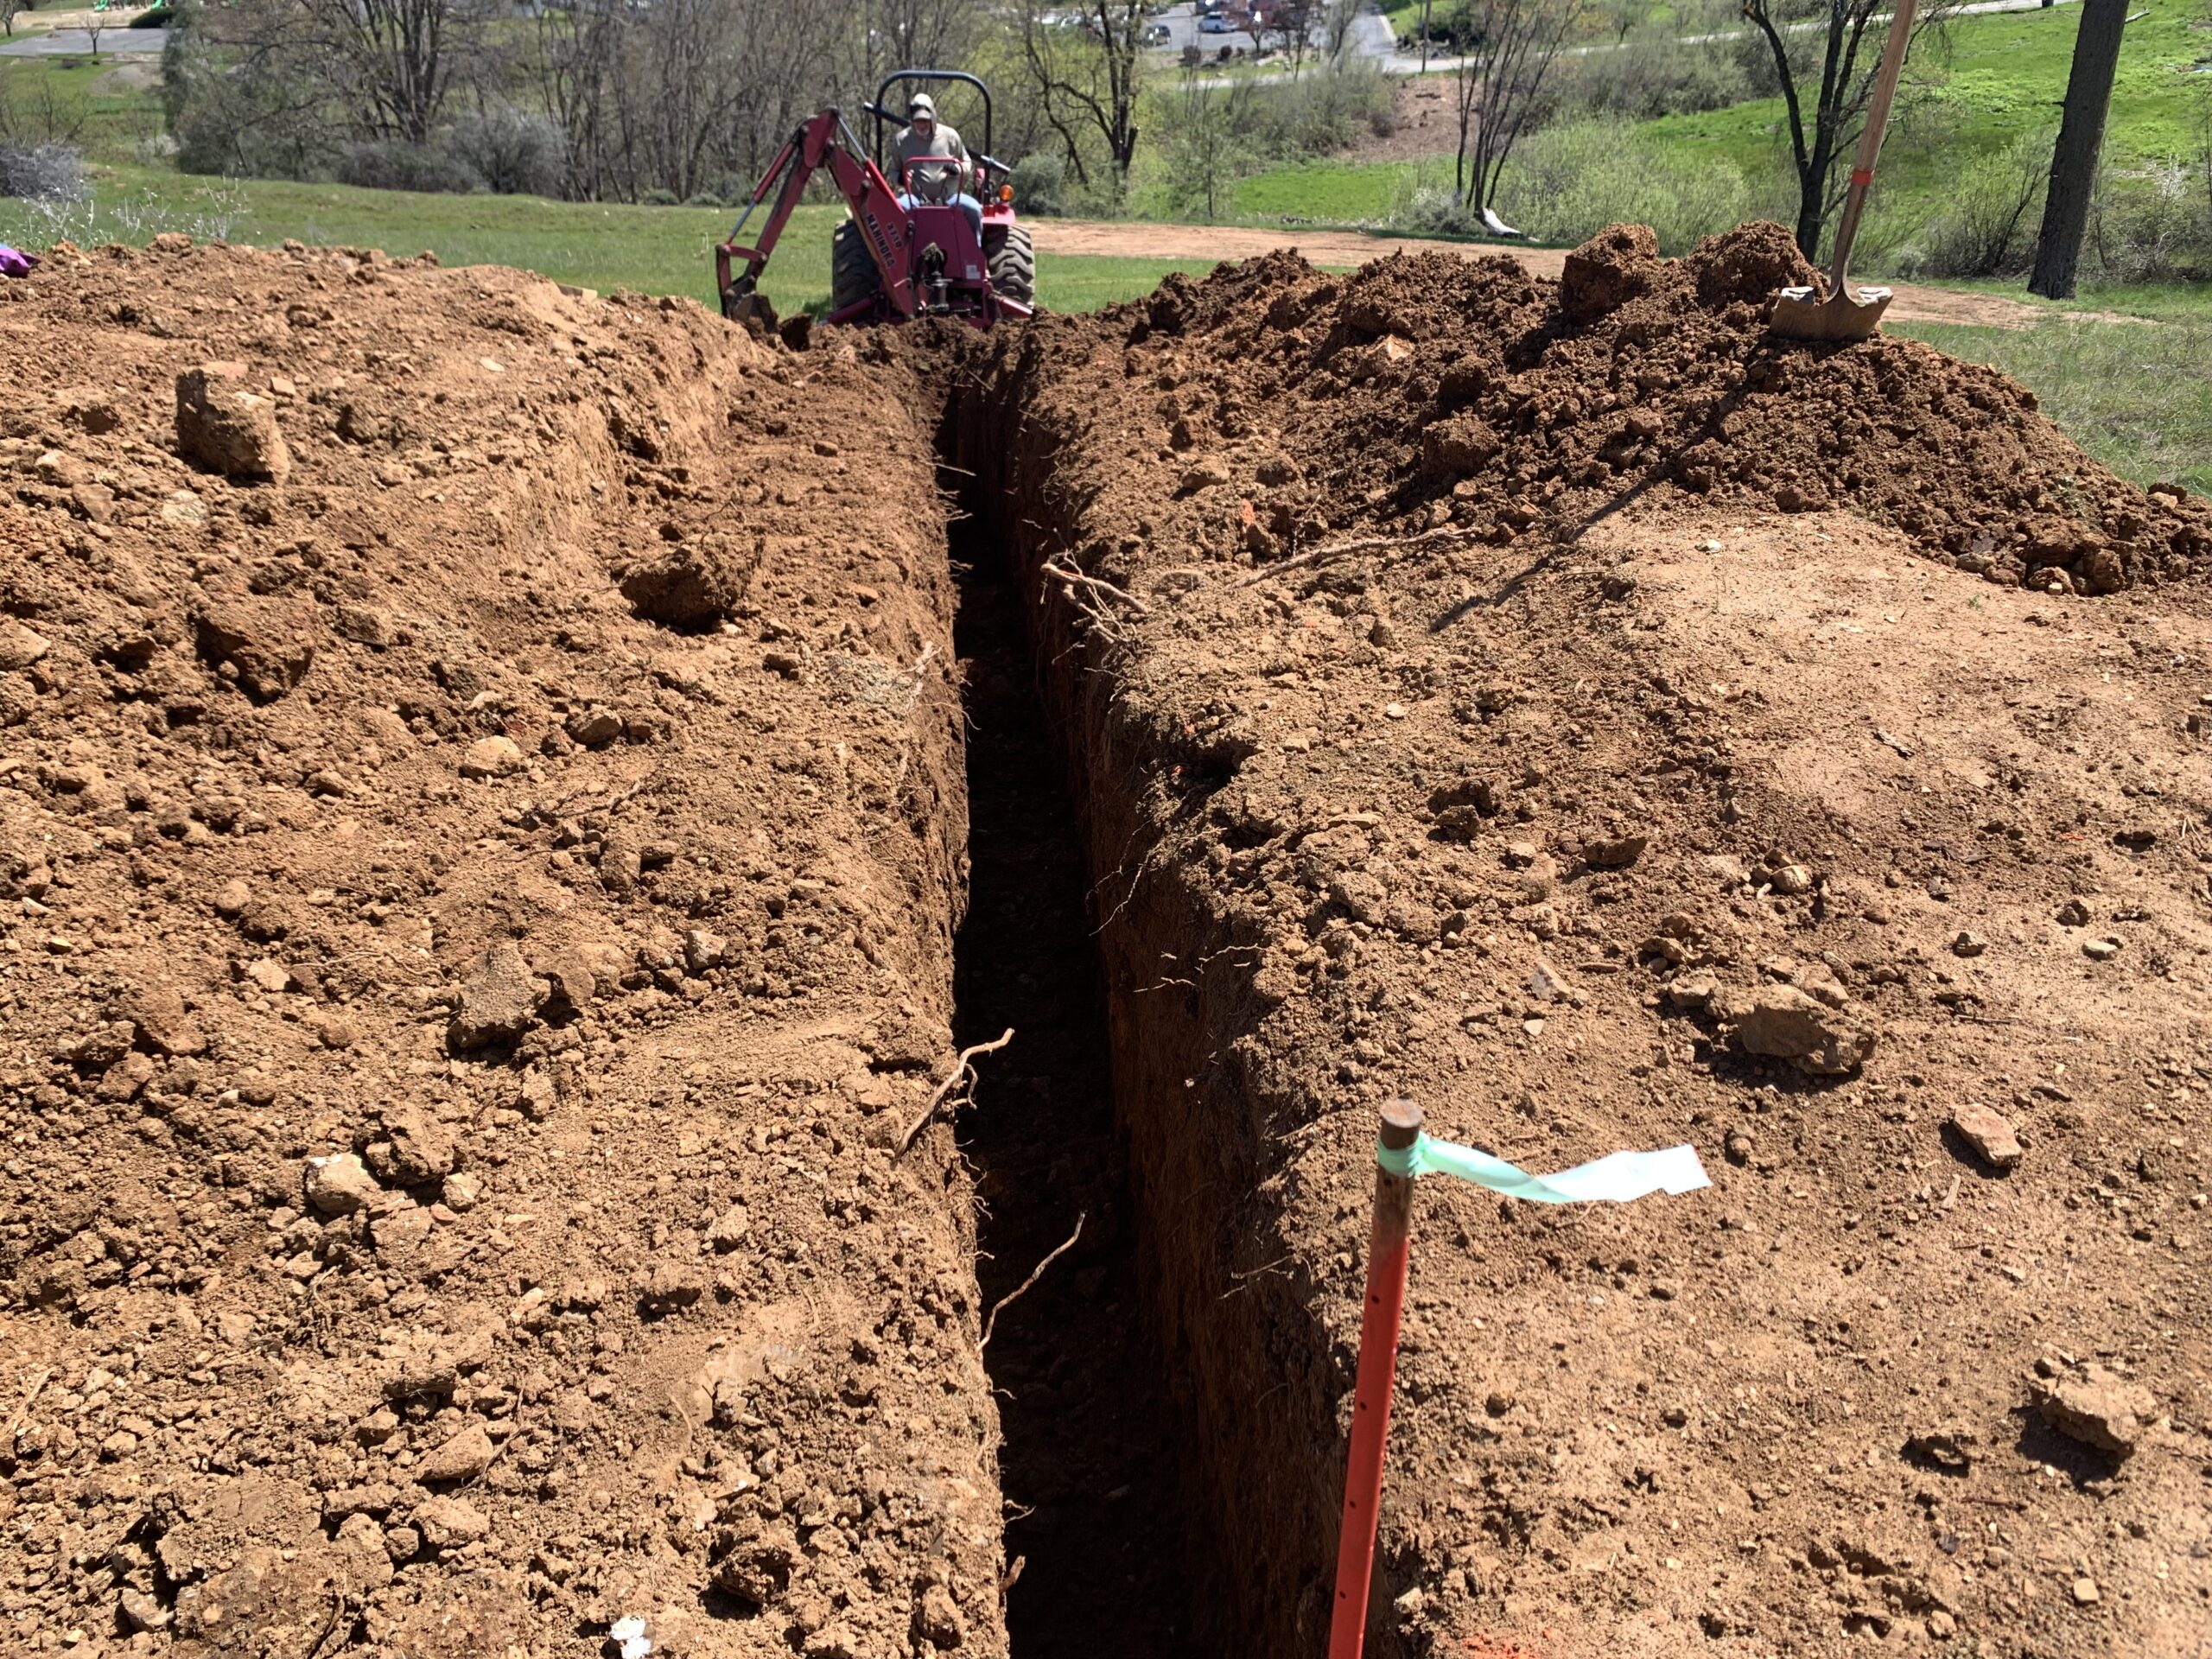
Our third step was trenching for underground service. Prior to installation, we needed to trench from the pole location to the panel location. Luckily, we had a small backhoe to help us with this. The trench from the panel location to the pump house is not required by the power company prior to installation, but we wanted to have it done. This trench is on a steep slope, so we had to dig it by hand.

Our fourth step was to install the pedestal and mount the panel. We used two steel posts set in concrete to ensure longevity, then mounted the panel using brackets.
Our fifth and final step in preparing for electrical service installation was laying the conduit. We added some sand to the trench before laying conduit to prevent any rocks or rough edges from damaging the conduit. Once service is installed, the trench will be backfilled with more sand around and on top of the conduit.
We used a shop vacuum powered by generator to pull a thin nylon string through the conduit. The string will serve as a means to pull the electrical wires through the conduit and connect to the panel.
Next Steps in Getting Power to Land
We are now ready for electrical service installation by the power company. They will come and set the pole and run wire through the conduit to our service panel and meter. Once that’s done and inspected, we will backfill the trench and move on to running conduit from the service panel and meter to the pump house.
We will be back with a Phase 2 post on that process, so watch out for that. In the meantime, we hope this post was helpful and encouraging to you, or at least interesting if you’re just curious what the process looks like. Don’t forget to comment and share, and thanks for reading!